
Advertisement
Article Posted by: Mark Alonzo
In this article we put stroke to a picture.What is stroke? It is somewhat like your putting frame to and edge of a picture.But it is different from a photo framing. Stroking your photo much more captavating when somebody view it.
In this simple step you will learn to apply stroke to any of your pictures. Heres the sample:
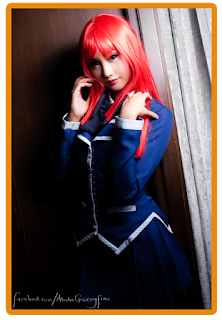

Step 1: As we can see the above sample picture having a stroke of orange and purple violet. So now lets open your picture which has no stroke yet. Locate your picture where it saved then in Photoshop click File> Open then select which photo you want to up put stroke then select Open button.

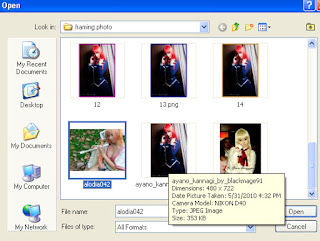
This box will appear after clicking the File > Open in the menu bar
Step 2: So now when your picture has appeared already in your photoshop click on Layer box where it names Background then press CTRL + J. Afterward a duplicate picture will appear above it.why we need to duplicate this picture? so that we can easily modify this picture having no lock ICON.
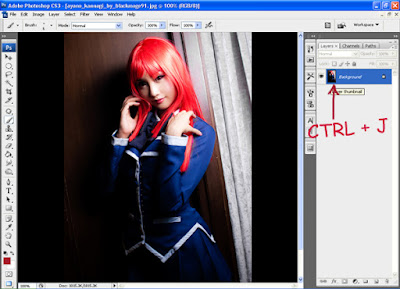
Continue Here: After pressing CTRL + J see this image below.

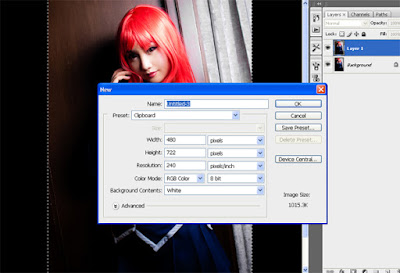
Step 3: Next thing you do press CTRL + C for us to copy the entire size of this image. So that when we have a new Canvas Size or new paper size we can easily make adjustment in terms of width and height of this picture. Now go to File > New as you can see the size of width = 480 then the height = 722 thats the exact entire size of this image after we CTRL + C. Now we will make some adjustments more than the exact size of this picture so that we can see the stroke effect of it. So for me i prefer to adjust width = 1024 then height = 1000 so that more space for putting effects.
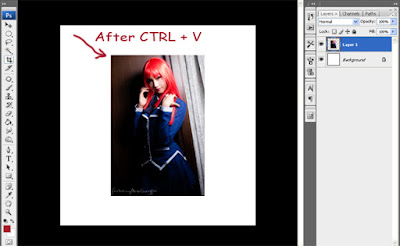
Step 4: After setting up the new Canvas Size press CTRL + V to a blank white new Canvas so that we can put stroke later in this picture.
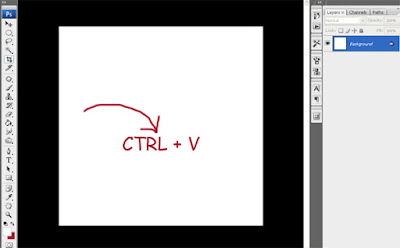
Continue Here: After pressing CTRL + V. See this image below.
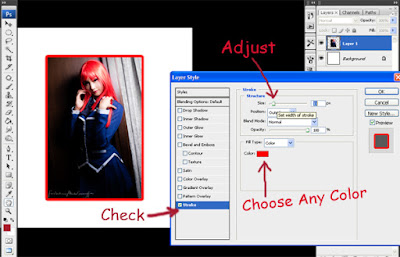
Step 4: On the Layer Box right click the named Layer 1 then select Blending Option then Layer Style Box will appear then select Stroke check the box. See the image below.

Continue Here: Layer Style Box Appeared. So now you can some adjustment anything on the Structure like the Size the Position the Color and more.. In my sample article i've adjusted the Size and the Color only. Size = 10 then color = red or orange or anything. See this image below.
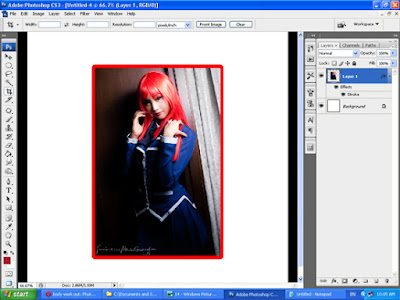
Finish Product: So this is the result for stroke color = red then size = 10. You can also modify the stroke color or the size if you have any changes on this. then afterwards click File > Save.
Step 1: As we can see the above sample picture having a stroke of orange and purple violet. So now lets open your picture which has no stroke yet. Locate your picture where it saved then in Photoshop click File> Open then select which photo you want to up put stroke then select Open button.

This box will appear after clicking the File > Open in the menu bar
Step 2: So now when your picture has appeared already in your photoshop click on Layer box where it names Background then press CTRL + J. Afterward a duplicate picture will appear above it.why we need to duplicate this picture? so that we can easily modify this picture having no lock ICON.
Continue Here: After pressing CTRL + J see this image below.

Step 3: Next thing you do press CTRL + C for us to copy the entire size of this image. So that when we have a new Canvas Size or new paper size we can easily make adjustment in terms of width and height of this picture. Now go to File > New as you can see the size of width = 480 then the height = 722 thats the exact entire size of this image after we CTRL + C. Now we will make some adjustments more than the exact size of this picture so that we can see the stroke effect of it. So for me i prefer to adjust width = 1024 then height = 1000 so that more space for putting effects.

Step 4: After setting up the new Canvas Size press CTRL + V to a blank white new Canvas so that we can put stroke later in this picture.
Continue Here: After pressing CTRL + V. See this image below.
Step 4: On the Layer Box right click the named Layer 1 then select Blending Option then Layer Style Box will appear then select Stroke check the box. See the image below.

Continue Here: Layer Style Box Appeared. So now you can some adjustment anything on the Structure like the Size the Position the Color and more.. In my sample article i've adjusted the Size and the Color only. Size = 10 then color = red or orange or anything. See this image below.

Finish Product: So this is the result for stroke color = red then size = 10. You can also modify the stroke color or the size if you have any changes on this. then afterwards click File > Save.

Advertisement
1 comment:
Learn how to change eye colour in 2 minutes !! https://www.youtube.com/watch?v=v-asxJAgV5o
Post a Comment